


Creative Exhibition Stand Design at Less the Cost
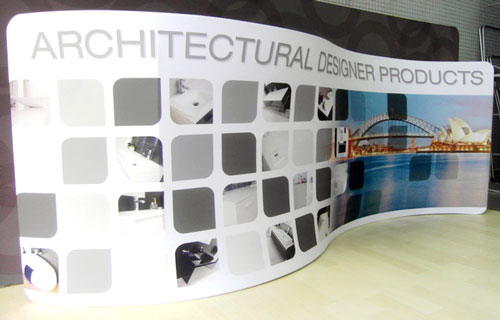
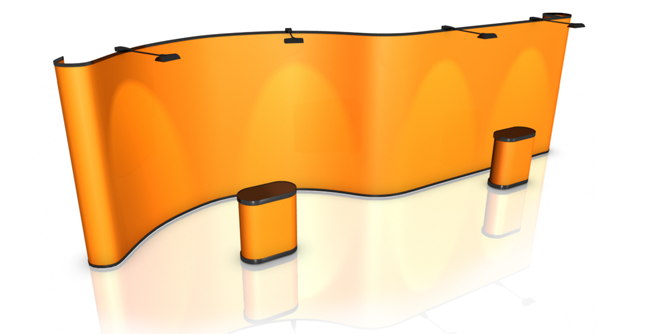
Option 6: 20ft Curve + Straight Pop-up
| Model Number: SK-PUD 20ft-1S1C | |
|---|---|
| Width | 5900mm |
| Height | 2310mm |
Price Includes:
- 1 straight aluminium frame
- 1 curved aluminium frame
- 9 full-colour, high-quality fabric panels or laminated graphic panels
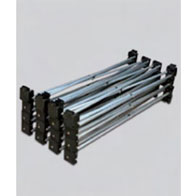
- 2 wheeled carrying cases with graphic or fabric wraps
- 2 wooden tabletops
- 4 halogen lights
Product Details:
- Setup Time: 15 Minutes
- Graphic Material: Fabric or Laminated Graphic Panels
- Can be single-sided or double-sided
- Dimensions: 5900mm/W x 1000mm/D x 2310mm/H
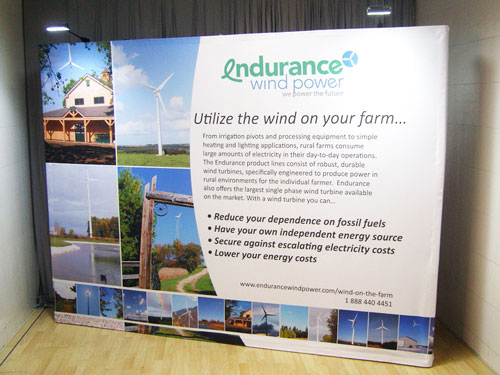
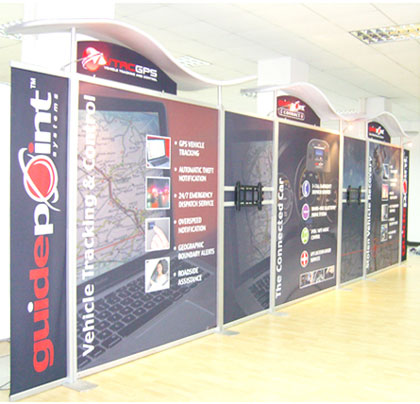
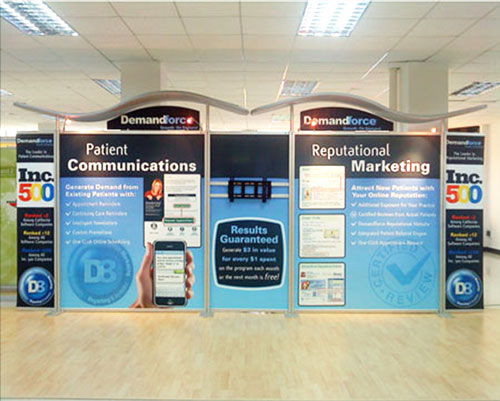
You need to be creative when you come up with the exhibition stand design you will use to decorate your booth at the expo or trade show you are participating at. After all, you have only a limited space to work with and other exhibitors competing for the same target audience. Your booth must stand out or be lost in the crowd. Thankfully, we have trade show booth designs you can check out that will not break your budget, such as our 20ft curve pop up display.
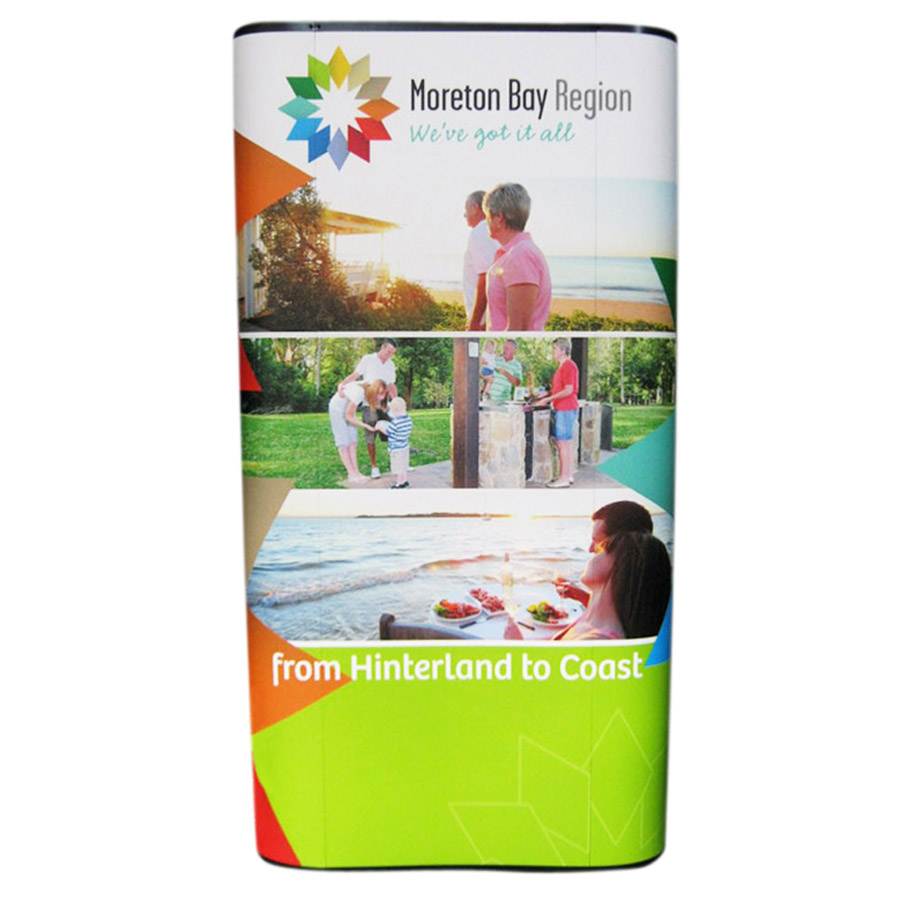
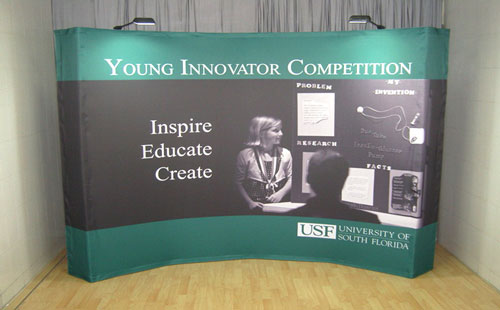
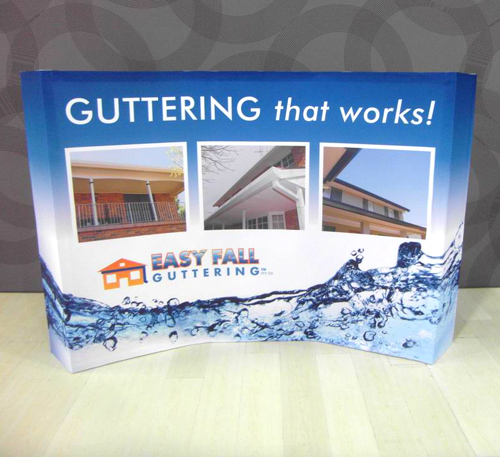
A Simple Yet Dramatic Display
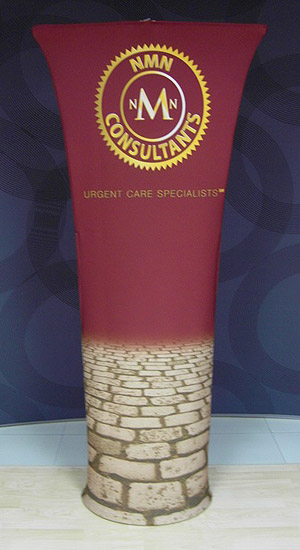
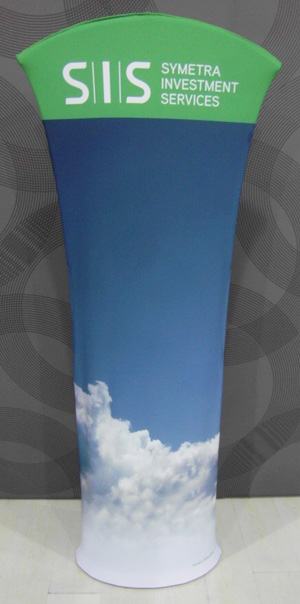
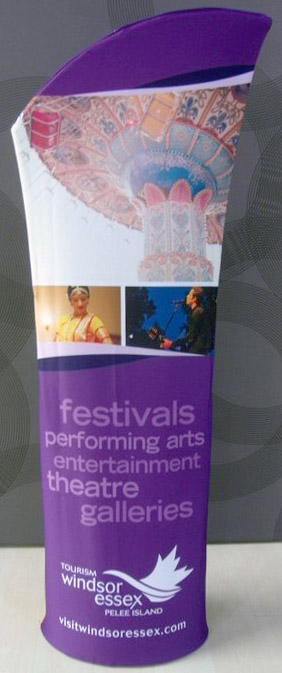
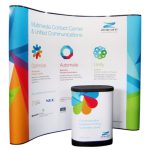
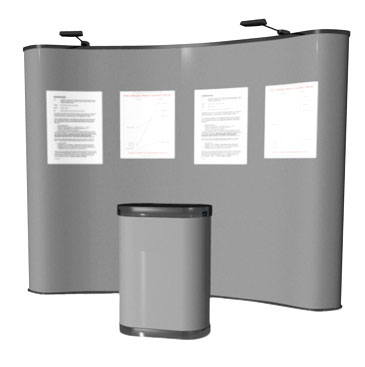
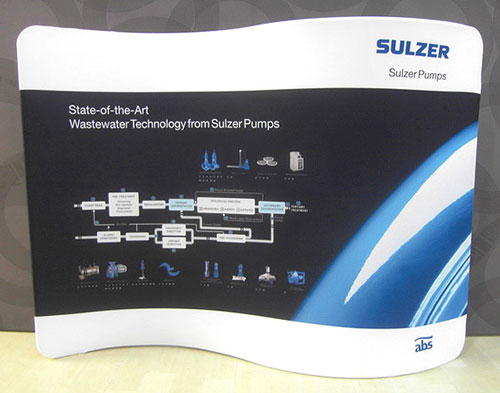
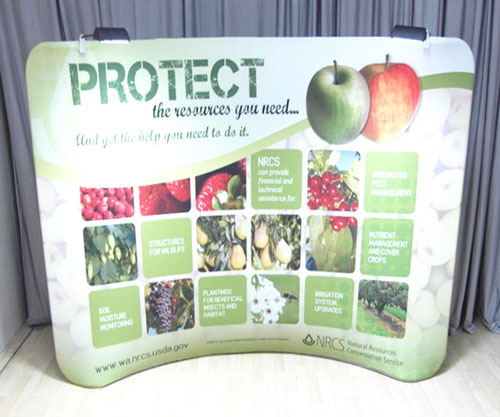
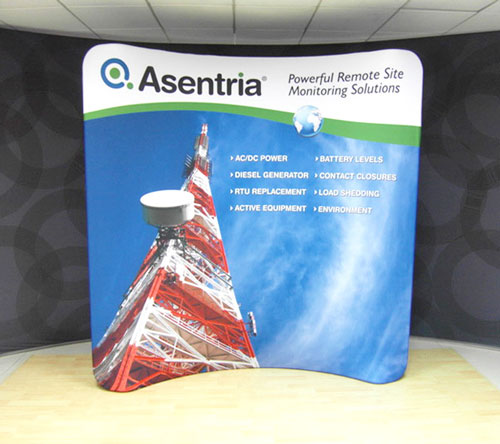
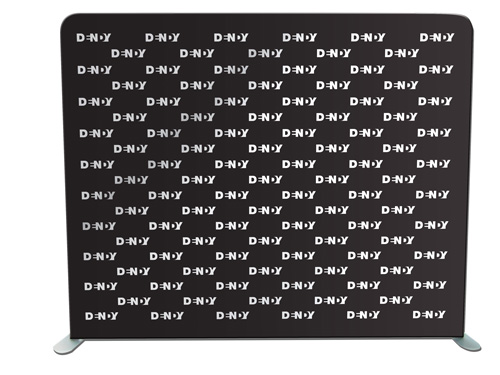
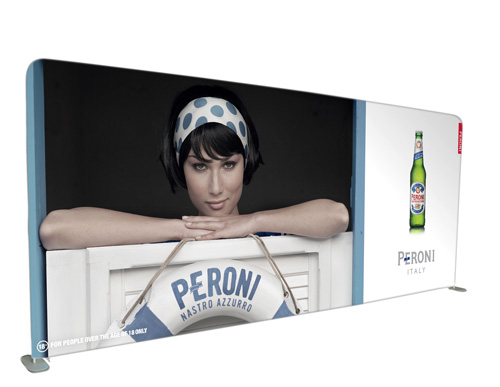
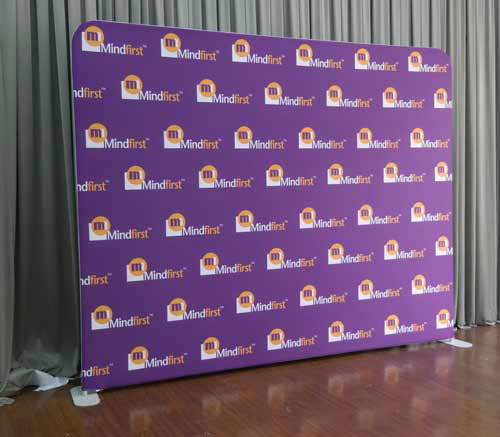
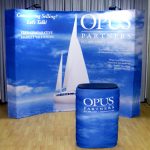
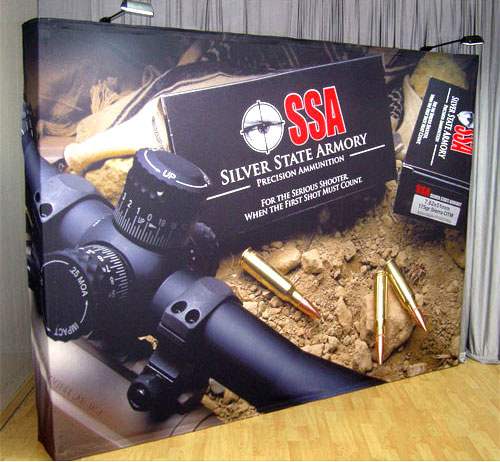
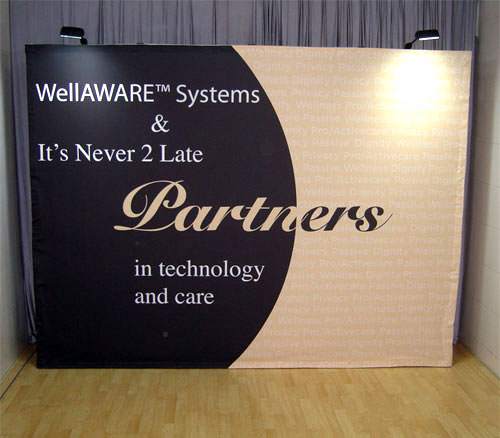
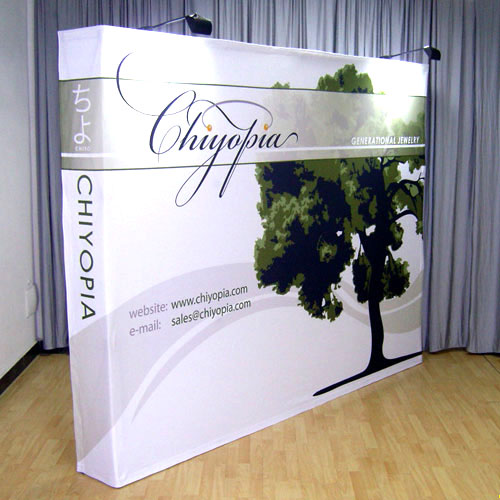
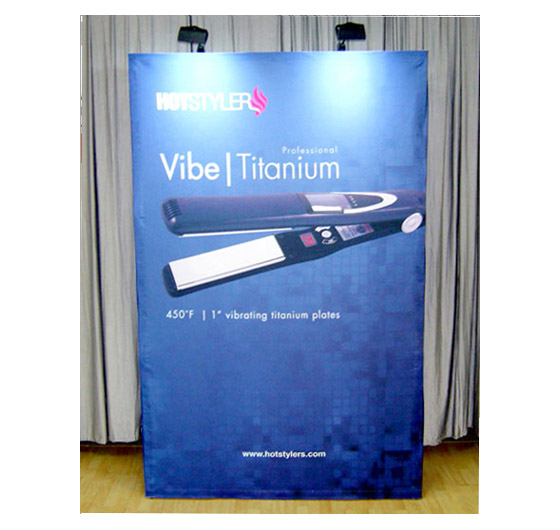
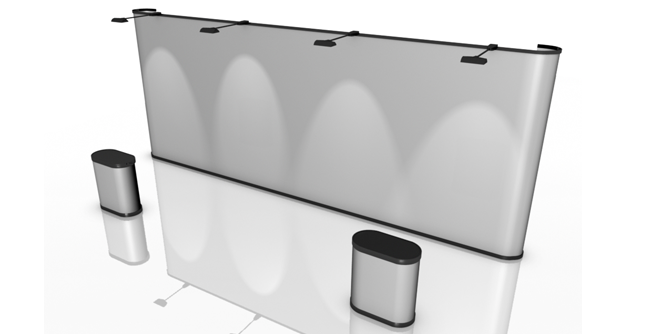
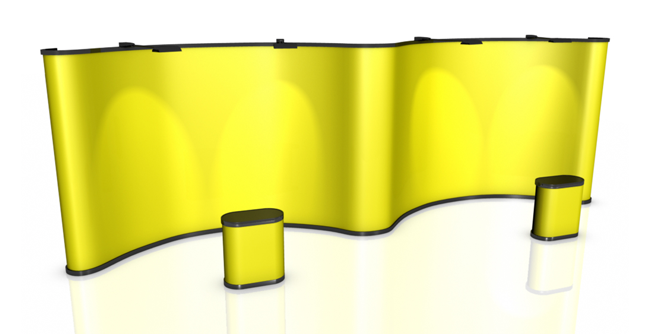
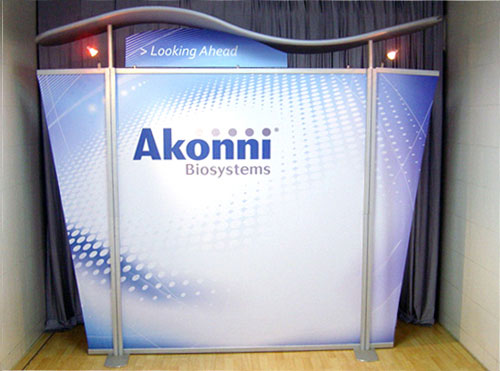
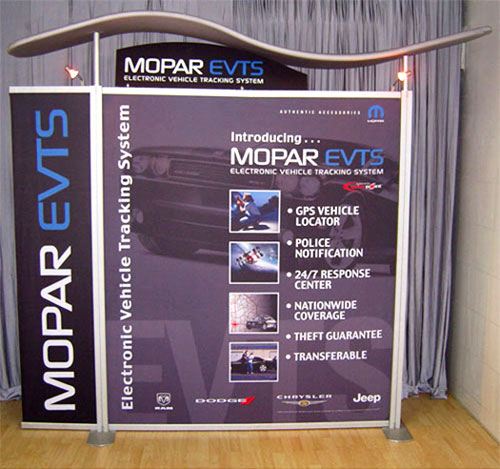
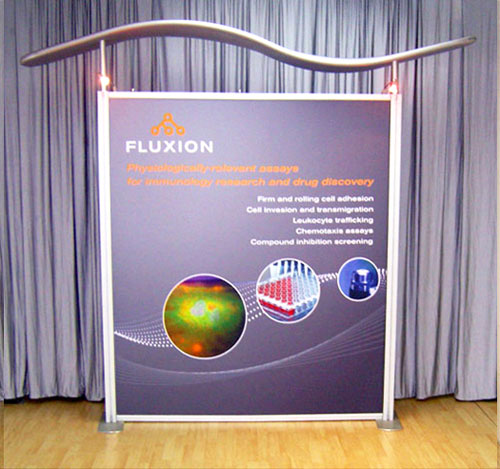
Our 20ft curve + straight pop up display is an excellent template upon which you can build your exhibition stand design. It is simple, but it has clean and elegant lines, straight on one side and curving on the other. Combined with great images and modules, it will definitely stand out on the expo floor.
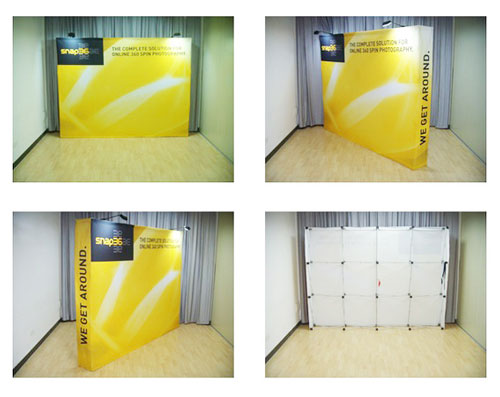
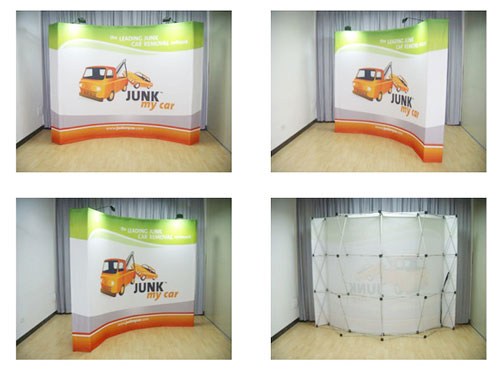
This pop-up display wall is 5900mm/W x 1000mm/D x 2310mm/H. It is made up of one straight frame and one curved frame, both made of aluminium. It also has a set of nine high-quality and full-colour graphic panels. You can choose between fabric panels and laminated PVC panels. Additionally, if you want single-sided displays, you can opt for it, although we recommend using double-sided displays to optimise your space on the expo floor.
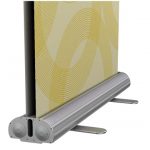
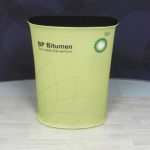
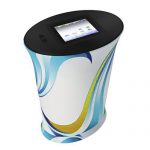
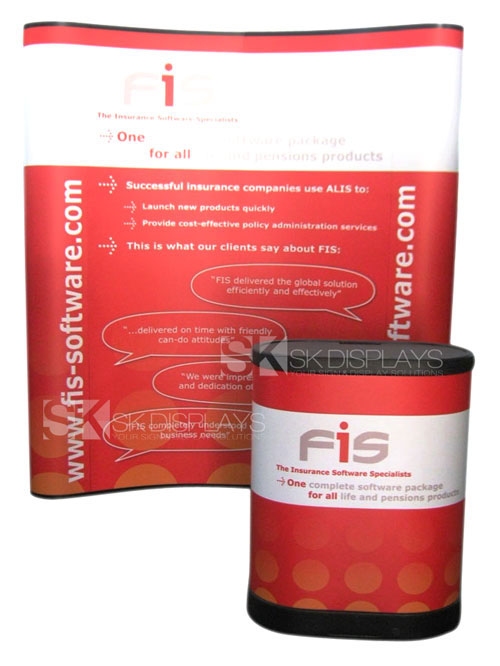
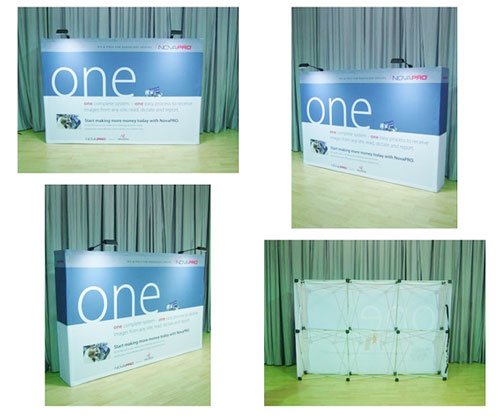
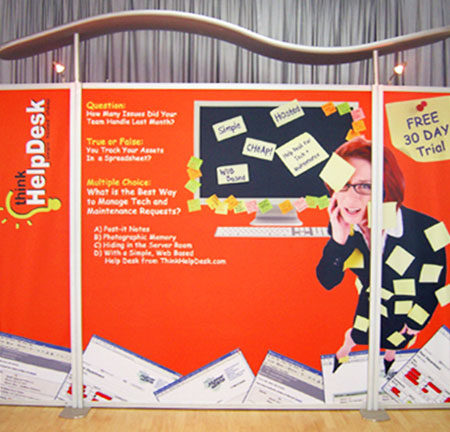
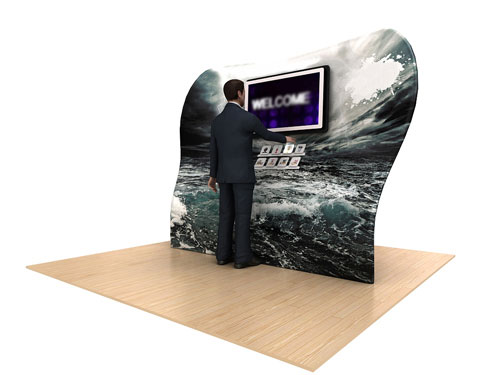
You can accessorise your display wall with halogen lights – four are included in the package. This package also comes with a pair of wheeled carry cases for easy portability and storage. You can convert these carry cases into counters with the help of two wooden tabletops and fabric or laminated graphic wraps so you can have a place to work on or to hold your pamphlets and paraphernalia at your booth.
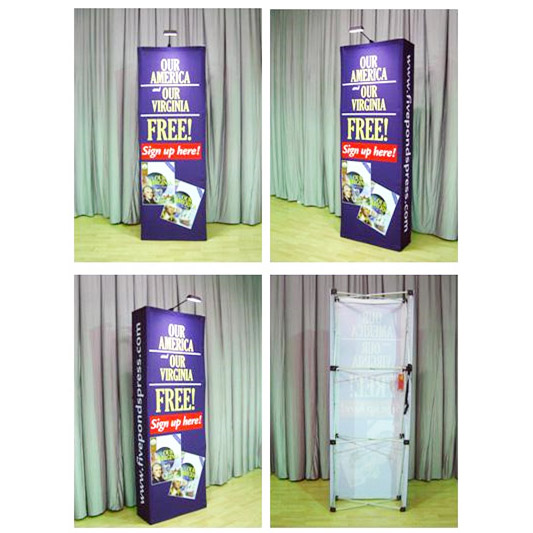
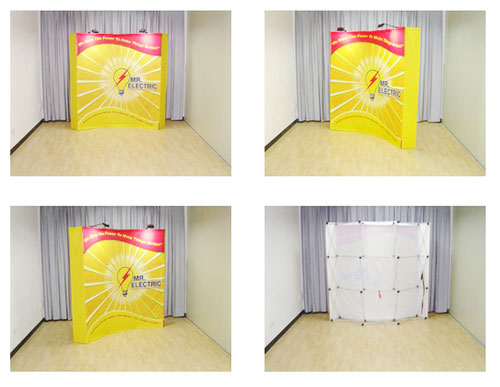
Assembling this display is also quite easy despite its size. It will only take you 20 minutes to accomplish the task. You just need to pop up the frames to their full width and height, and then you attach the graphic panels with the Velcro strips on the panels and on the frame itself.
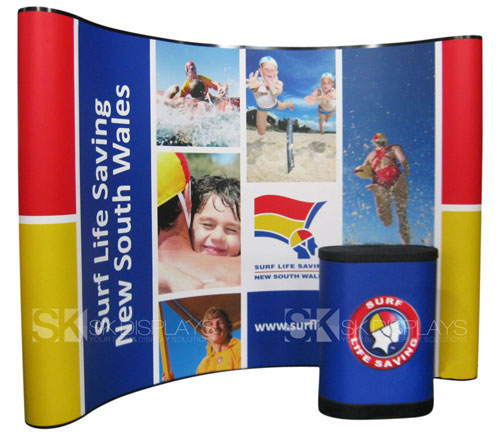
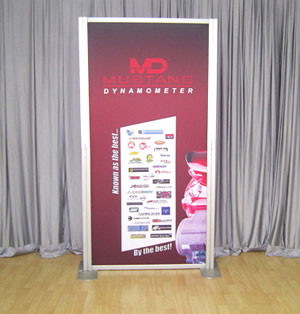
Three Displays for the Price of One
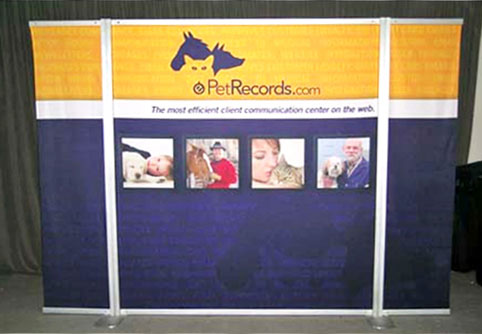
The best advantage you will enjoy from using our 20ft curve pop up display wall is it will save you a lot of money in the long run. Think of it this way: It is like buying three displays for the price of one. You have one big pop-up display, and you can break this up into two smaller displays that you can use together or separately. This is convenient for when you have issues with your exhibition space and you need smaller displays.
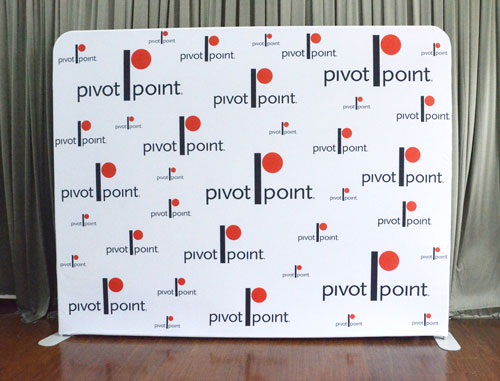
Moreover, you can reuse your displays for as many times as you want, and for many different events. You don’t need to buy a new frame every time you have to set up an exhibition booth at any expo or trade show. Simply get a new set of graphic panels and your display is as good as new. Also, expos and trade shows are not the only events where you can use this particular display. You can use it for red carpet events, weddings, press conferences, theatre backdrops, school dances, corporate parties, and many others.
If you’re looking for a big exhibition stand design that allows you to be creative without breaking your budget, our 20ft curve + straight pop-up wall is the best solution around. Call us right now to learn more.
Straight + Curved Model Dimensions:
5900mm/W x 1000mm/D x 2310mm/H
Product Details:
- Setup Time: 15 Minutes
- Graphic Material: Fabric or Laminated Graphic Panels
- Can be single-sided or double-sided
- Dimensions: 5900mm/W x 1000mm/D x 2310mm/H
Setup Instructions
1
Place the frame on the ground.
2
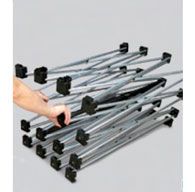
Lift the pop-up frame to expand the structure.
3
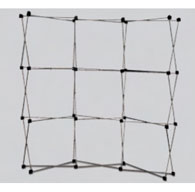
Once the frame is completely expanded, it will remain in the fully opened position.
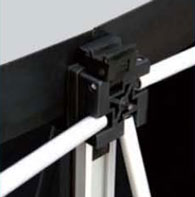
4
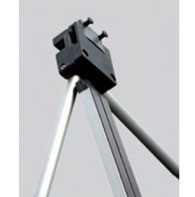
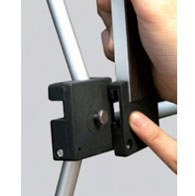
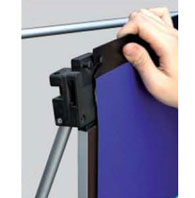
Insert the channel bars into the slots located in the black brackets at the top of the frame.
5
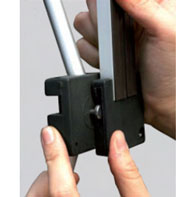
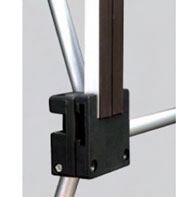
Slide the bottom of the channel bars from right to left onto the remaining brackets (5) to (7).
6
7
8
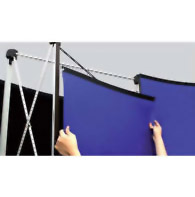
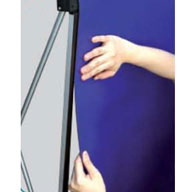
Attach the center panels first. Each panel has a slot at the top of each corner. The panel slides onto the pins at the top of the frame. (8) and (9)
9
10
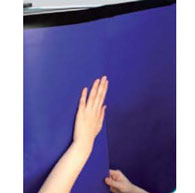
Attach the panels (10) and (11)
11

12
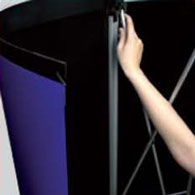
Attach the 2 endcap panels. (12) and (13)
13
14
Attach the lights. The light brackets are located at the top of the frame.
15

Slide the lighting from right to left onto the bracket. (15) and (16)
16

Coming soon
Coming soon


Contact Details
We appreciate your interest in SK Displays. You can complete the inquiry form below to request more information or you can simply send us an e-mail to info@skdisplaysbanners.com.au or call us directly at (02) 9432 7840 to ask for assistance.