Professional Expo Display Stands That Fit Your Budget
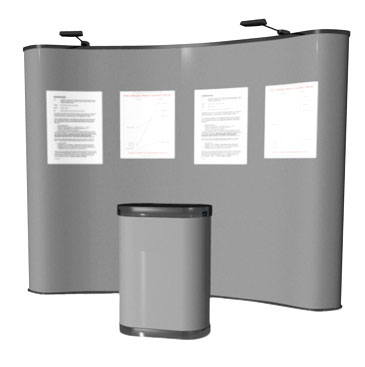
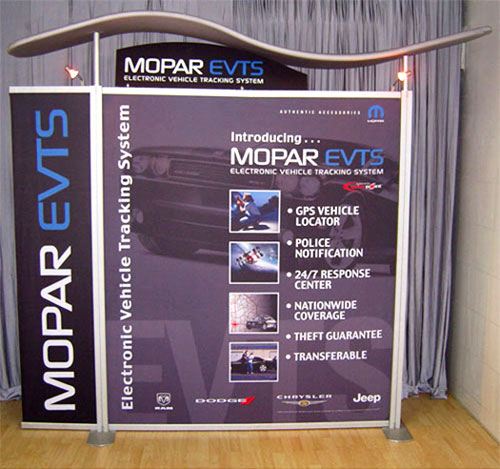
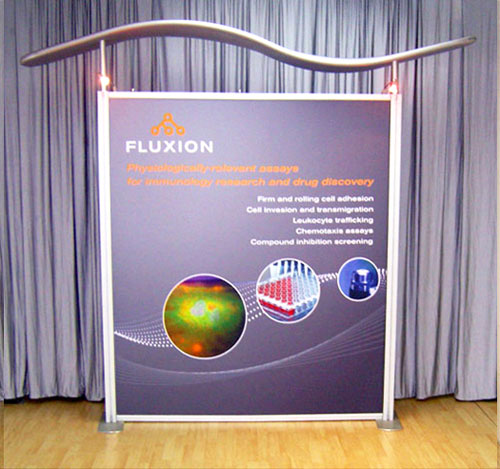
Option 8 – 2900mm/W x 2320mm/H
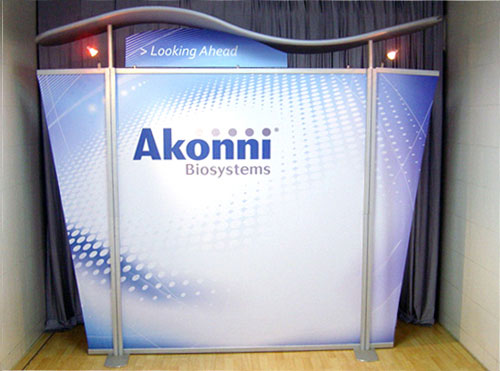

| Model Number: SK-MDS-2900C1L1R | |
|---|---|
| Width | 2900mm |
| Height | 2320mm |
Price Includes:
- 1 set aluminium frame with hardware
- 1 set fabric graphic
- 1 set canopy structure with gray fabric cover
- 1 hard shipping case with wheels
Optional:
- 1 set plexiglass header graphic
- 2 halogen lights
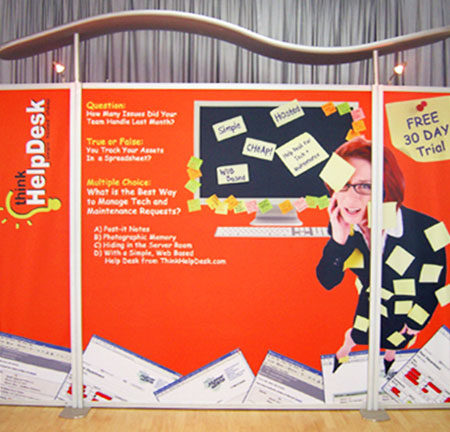
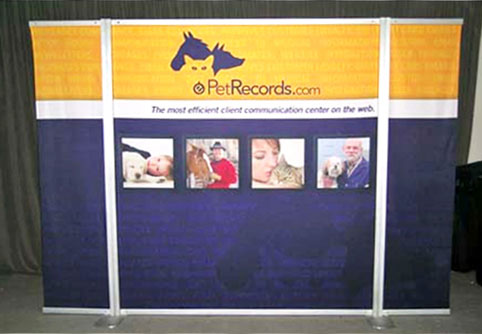
As a trade show organiser, one of the many tasks you have to deal with is finding good expo display stands for exhibitors to use. The expo display has to look professional. It has to be easy to set up and easy to modify when necessary. Above all, it has to fit your budget and be cost-effective for your company. Our modular display solutions are exactly what you are looking for.
Smart, Professional Appearance
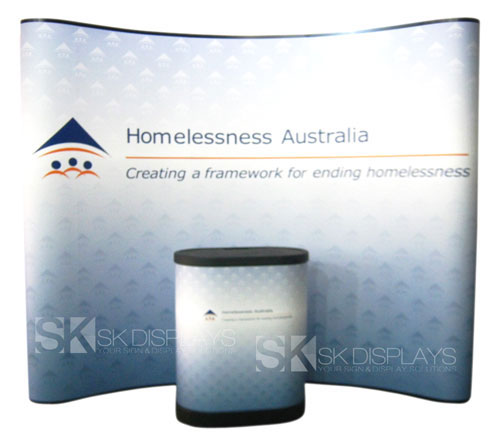
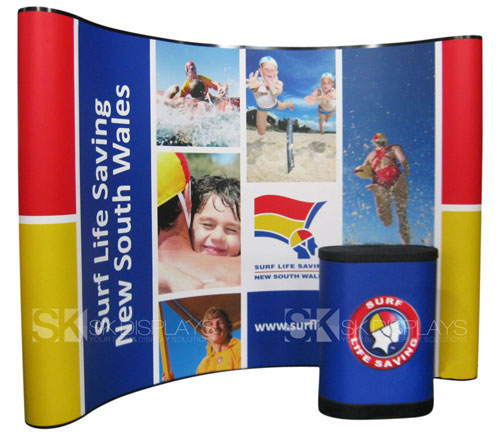
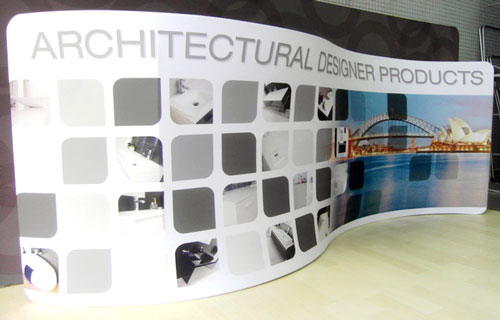
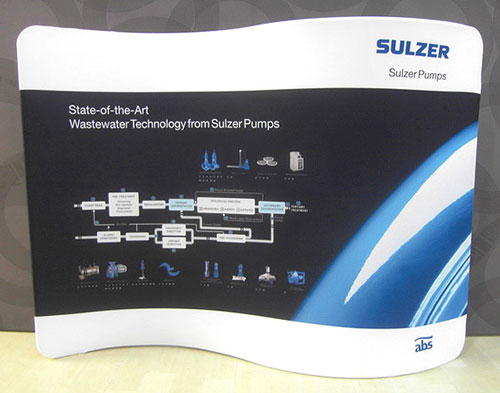
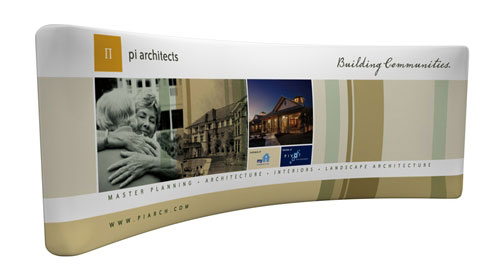
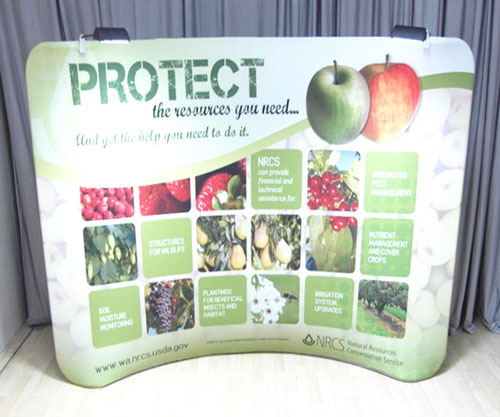
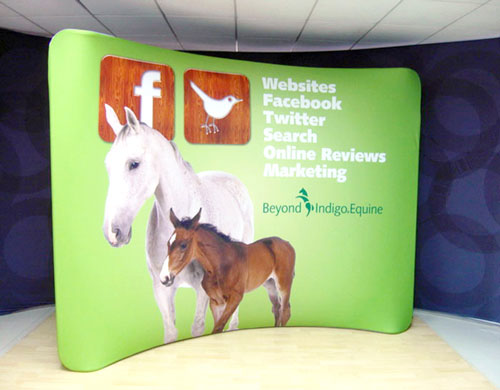
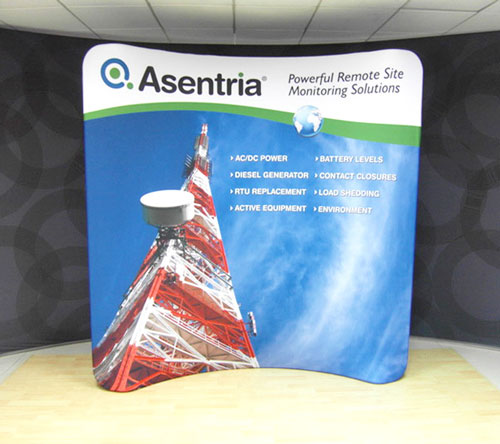
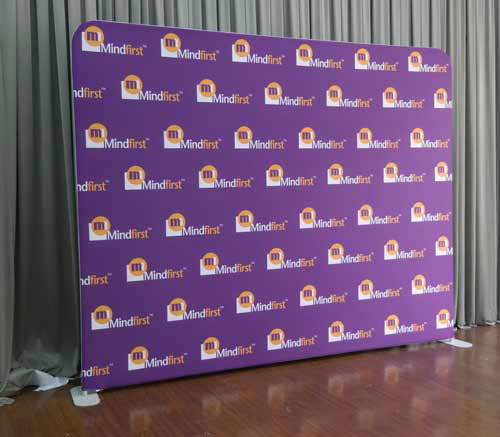
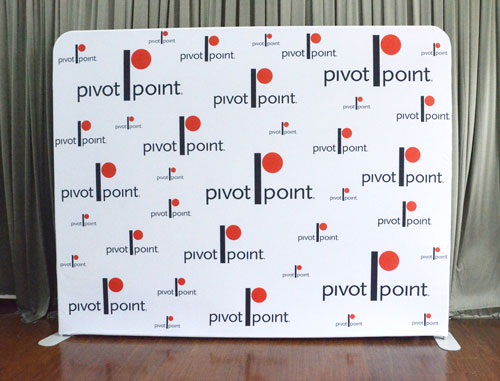
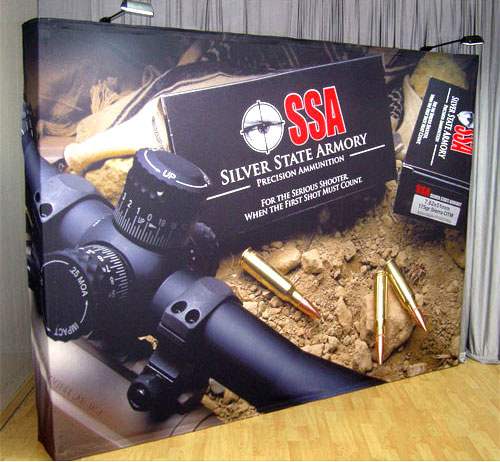
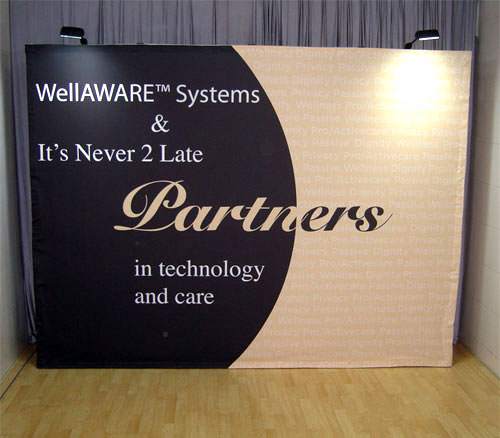
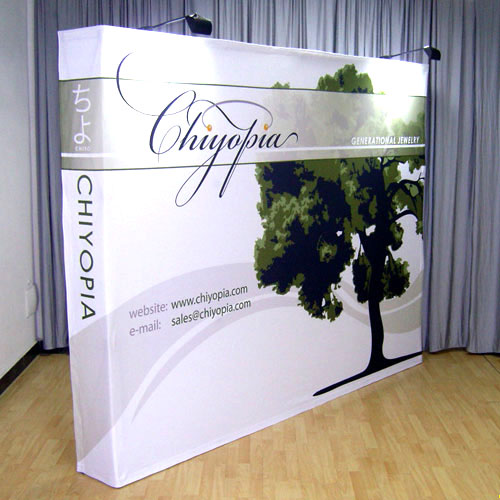
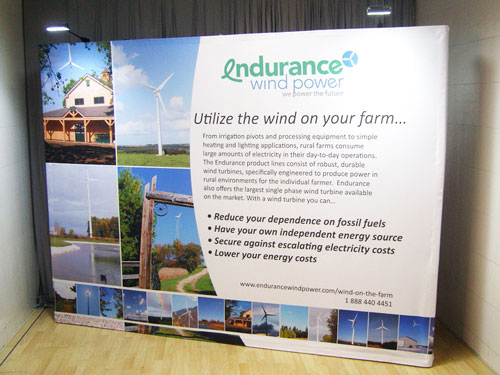
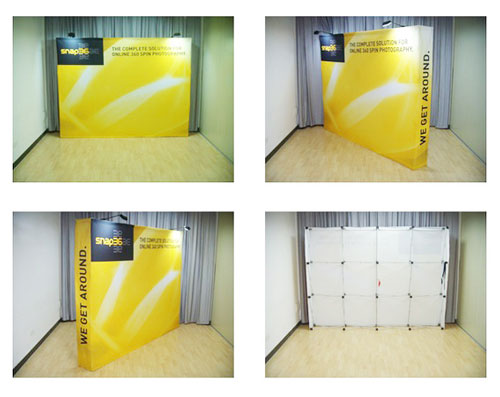
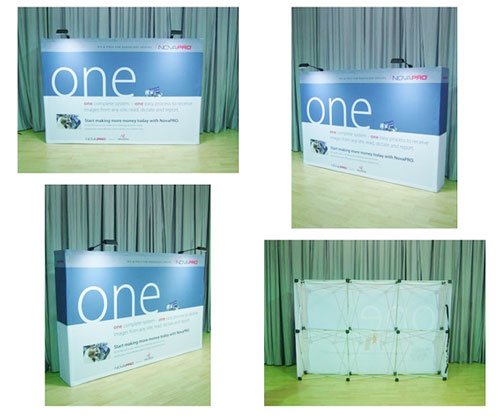
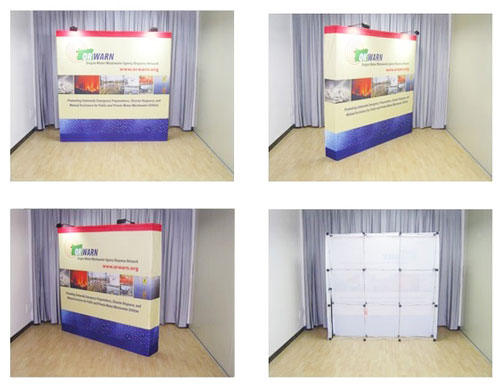
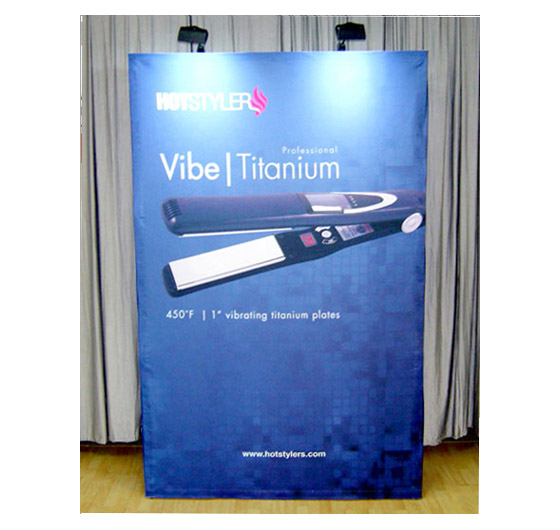
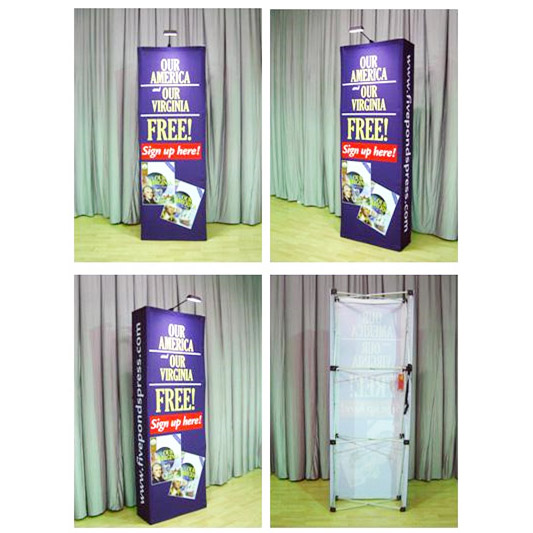
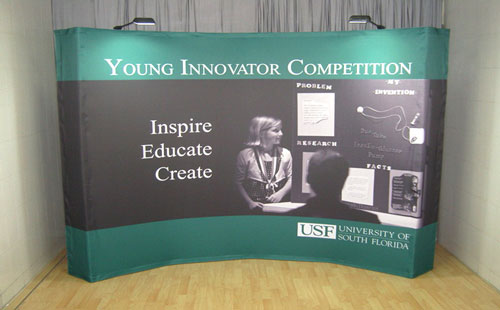
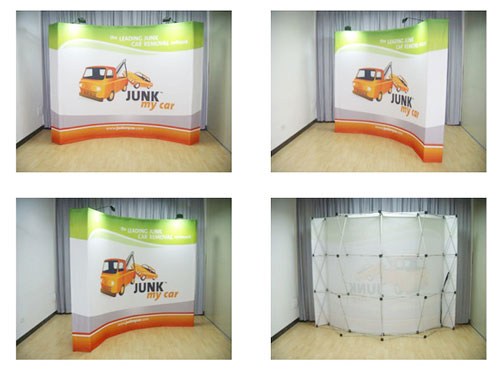
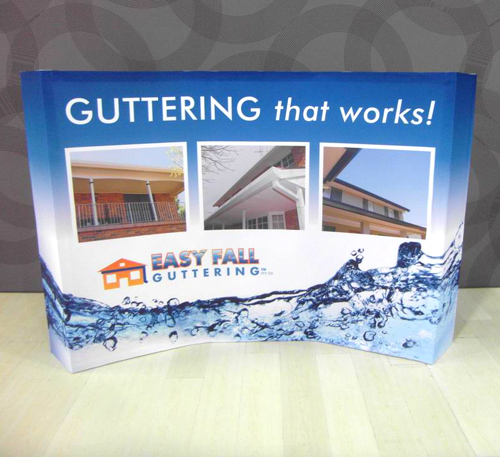
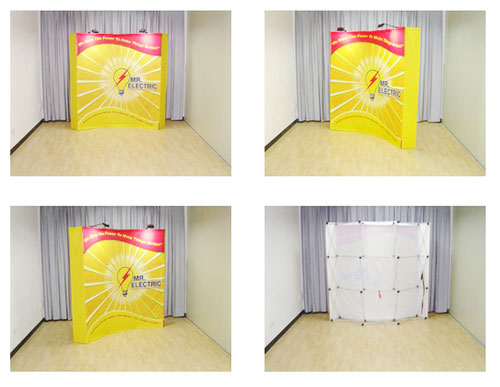
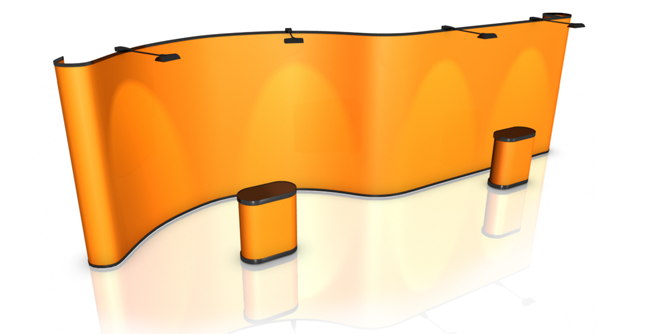
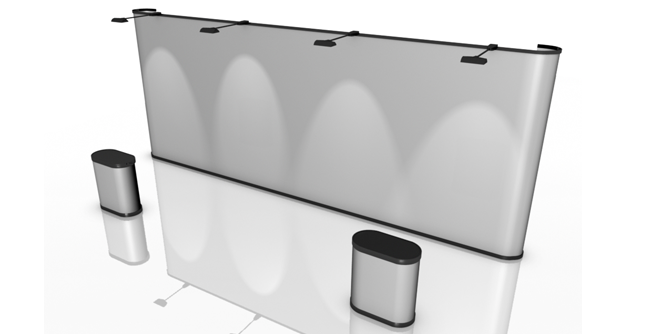
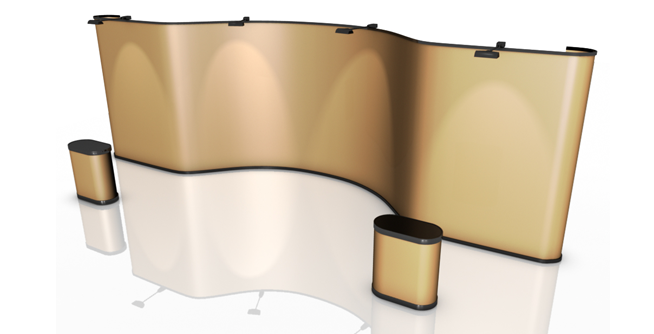
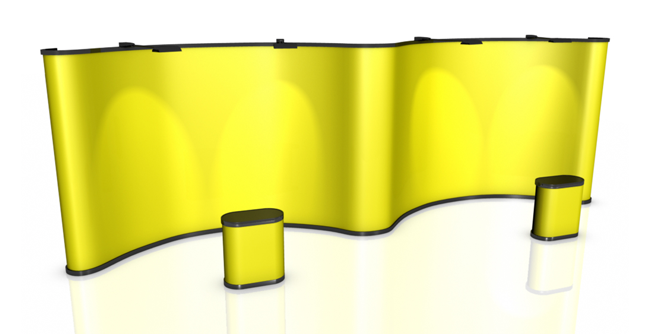
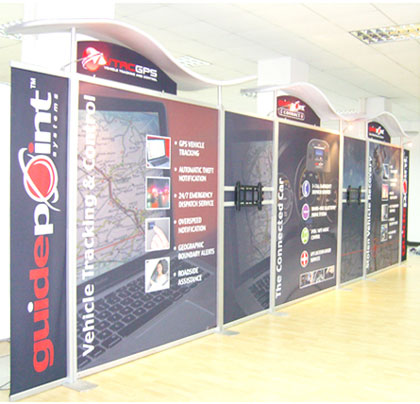
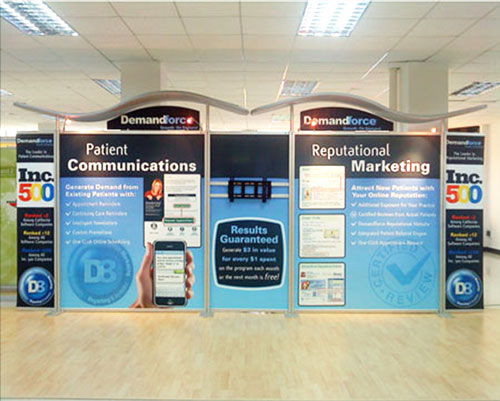
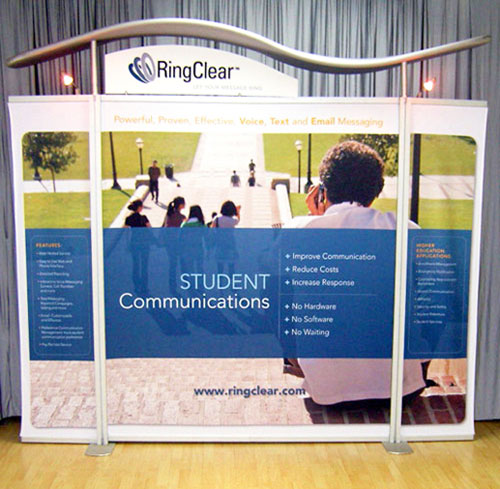
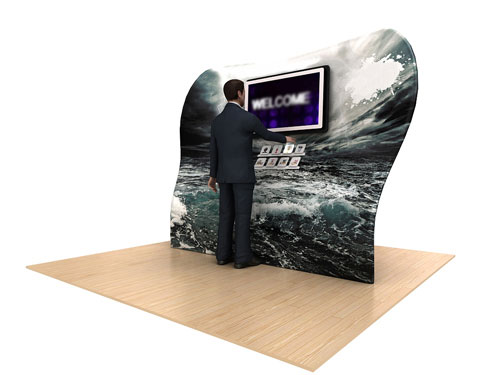
The satellite modular display systems we offer address all your expo display needs. For one, they look smart and professional. They are perfect for classy trade shows held in five-star venues, such as food and wine expos. These 2900mm x 2320mm display stands have an asymmetrical form. This form makes the expo display stands it will adorn appear modern and edgy. Each display board set is made up of a three fabric graphic panels (one main panel and two side panels), a frame, a fascia, and a canopy. The fabric graphic panels are produced using the newest techniques in dye sublimation printing, which result in sharp and brightly coloured images. The frame and canopy are made of aluminium while the fascia is fashioned out of plexiglass. The canopy has a gray fabric cover that zips closed. You can make each exhibition stand even prettier by using optional accessories like halogen lights and counters with matching fabric graphic wraps.
Easy to Set Up and Modify
Another characteristic our modular display solutions have is they are easy to set up. The metal pieces of the frame lock together and are secured with screws. The fabric graphic panels slide into place effortlessly. Assembling the display does not require a lot of manpower. Total assembly time is around 30 minutes. In case you find it necessary to modify these display boards to fit your venue, you can easily do so. The height of the display board can be lowered by removing the canopy structure. Its width can be reduced by detaching one or both side panels.
A Cost-Effective Display Solution
The best benefit you will get from using our modular display solutions is they are cost-effective and will save you money. As mentioned earlier, setting up the display does not take a lot of manpower. The display board can be altered to fit the specifics of the venue. Most of all, the boards are reusable so you won’t have to buy a new set of displays every time you organise a trade show or convention. You only need to replace the fabric graphic panels. Our satellite display systems are exactly the expo display stands you need. We deliver to any location in Australia, including Sydney, Melbourne, Darwin, Perth, Canberra, Adelaide, Gold Coast and Brisbane. Call us now to find out more about this product.
Details:
- Setup Time: 30 Minutes
- Graphic Material: Fabric
- Can be single-sided or double-sided
- Dimensions: 2900mm/W x 2320mm/H
Setup Instructions
1
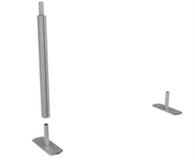

Place the feet in the assembly area approximately six feet apart and slide the vertical pole sections onto the foot as shown.
2
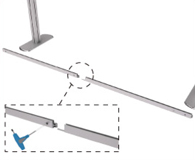

Assemble top and bottom horizontal profiles. Slide two sections together as shown. Using the torx key, rotate clockwise 1/4 turn to lock in place and tighten the torx screw on the bottom of the profile.
3
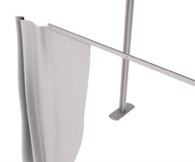

With torx locks facing the back of display, slide the fabric into the curved side of the top and bottom profile.
4
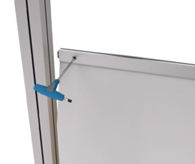

Attach the horizontal profiles to the vertical poles using the torx key. Bottom profile should be flush with the bottom of the vertical poles. To eliminate the need of a ladder, temporarily attach the top profile at eye level as shown in step 5.
5
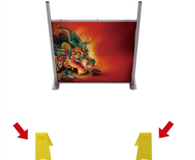

Open the yellow sandwichboards and place them parallel to vertical poles.
6
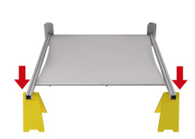

Tilt the display down so the vertical poles rest on the yellow sandwich boards.
7
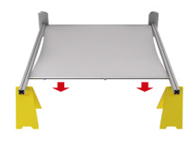

Release the top profile and attach flush with the top of the vertical poles using the torx key. Beginning at one end, tuck the side of the fabric into the center slot of the vertical poles.
8
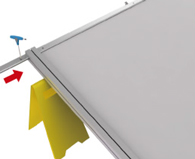

If used, attach the end cap profiles as shown using the torx key.
9
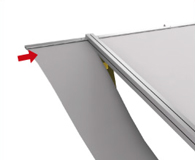

Slide the end cap fabric into the top and bottom profile as shown. Beginning at one end, tuck the side of the fabric into the center slot of the vertical pole. If you are using Plexigas end caps, see instructions supplied separately.
10
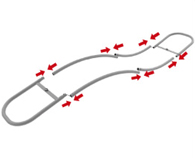

All sections are pre connected, just push together until parts click.
11
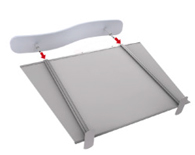

Life the roof assembly and slide the poles evenly and smoothly into the vertical poles. The fabric zipper should be facing down toward the back of the unit.
12
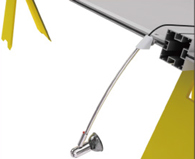

If used, you may now attach lights. Slide the “T” section into the slot. Tighten with the round thumb nut.
13
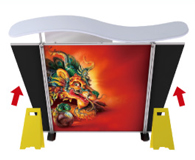

While standing in front of the unit, SLOWLY lift with the unit to the vertical position.
14
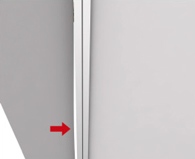

Confirm all the fabric edges are pushed neatly and evenly into the horizontal and vertical profiles.
15
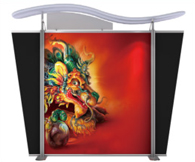

Enjoy.
16
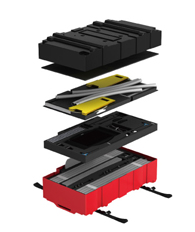

17
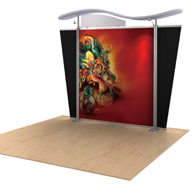

Coming soon
Coming soon
Contact Details
We appreciate your interest in SK Displays. You can complete the inquiry form below to request more information or you can simply send us an e-mail to info@skdisplaysbanners.com.au or call us directly at (02) 9432 7840 to ask for assistance.


