


Exhibition Boards – Affordable Options for Smart Displays
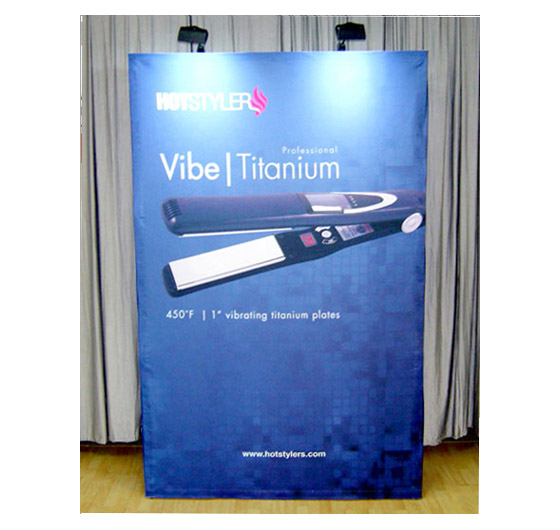
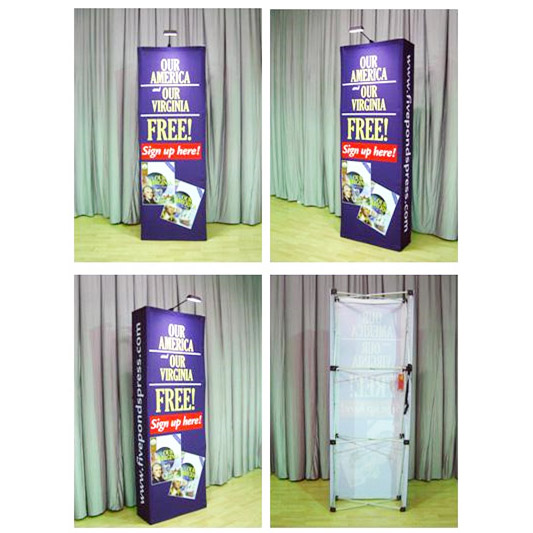
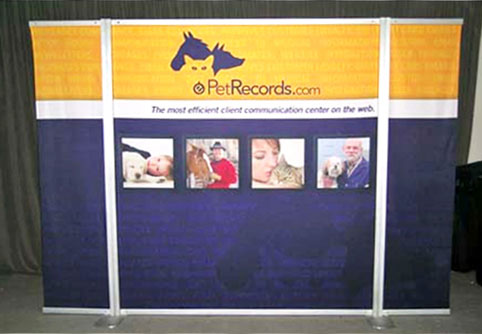
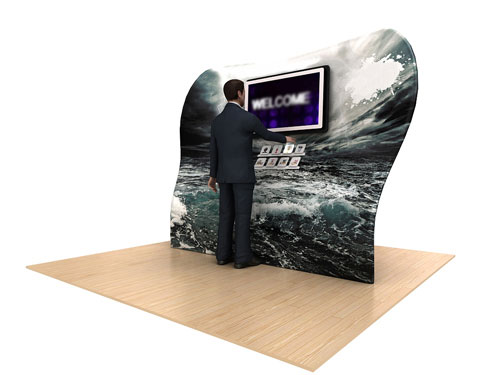
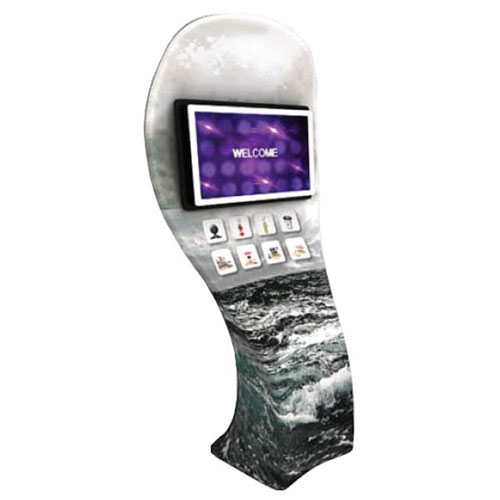
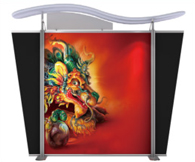
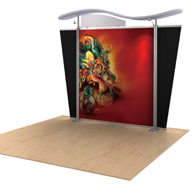
Option 2 – 1900mm/W x 2150mm/H

| Model Number: SK-MDS-1900 | |
|---|---|
| Width | 1900mm |
| Height | 2150mm |
Price Includes:
- 1 set aluminium frame with hardware
- 1 set fabric graphic
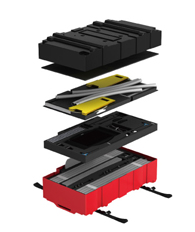
- 1 hard shipping case with wheels
Optional:
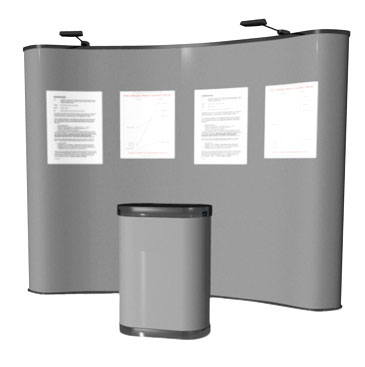
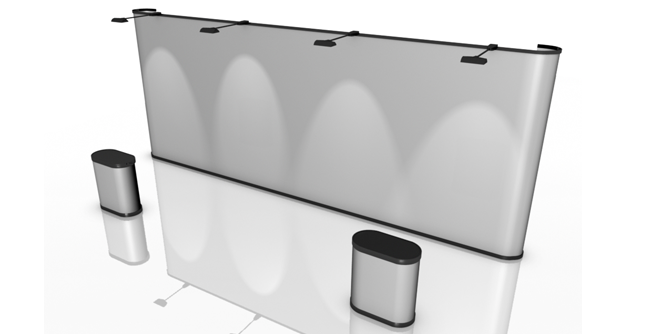
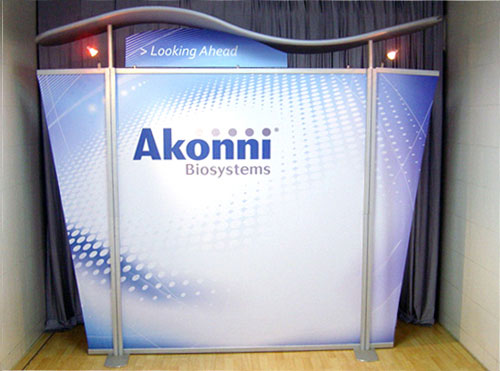
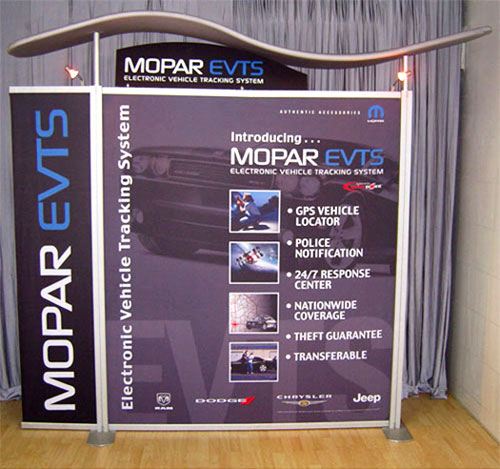
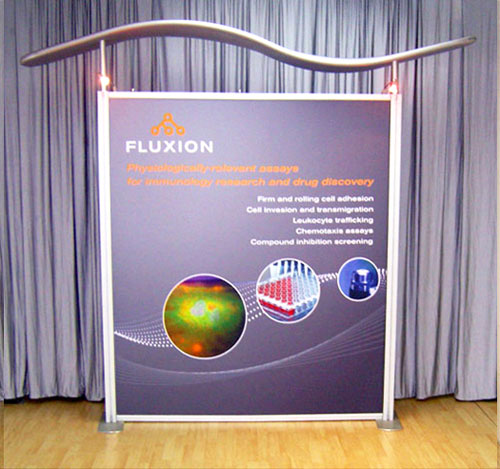
- 1 set canopy structure with gray fabric cover
- 1 set plexiglass header graphic
- 2 halogen lights
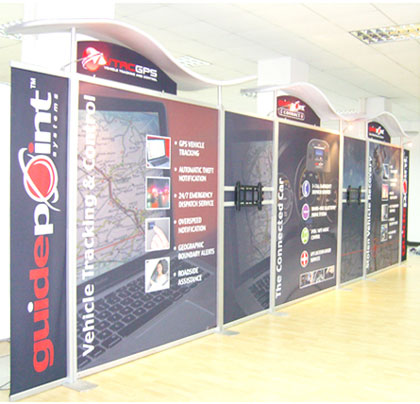
As the organiser of a big food or wine expo or any trade show that will have thousands of people in attendance and will have some wide press coverage, it is your responsibility to make sure that every detail of your expo goes smooth and perfect. One detail you need to cover when you’re organising your event is the kind of exhibition boards you will have the expo participants use. The exhibition display board you need to make available to the expo participants have to be pretty and convenient and, at the same time, give the participants room to be creative with their displays. Our modular display system is perfect for the task.
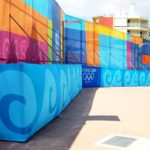
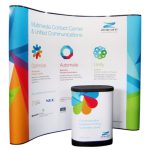
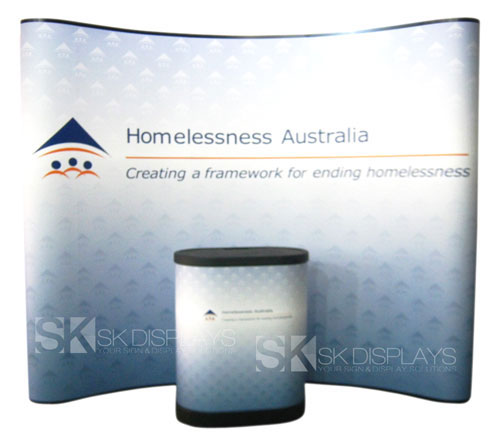
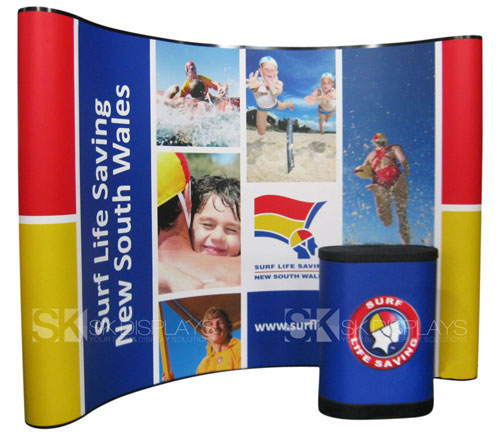
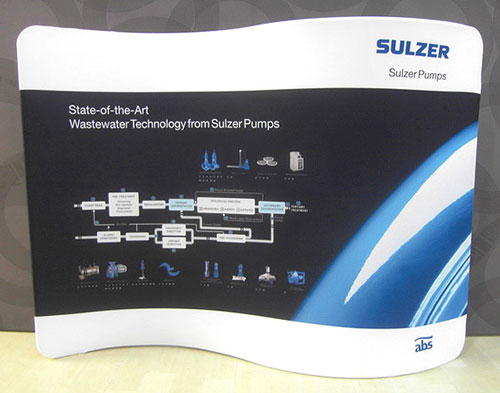
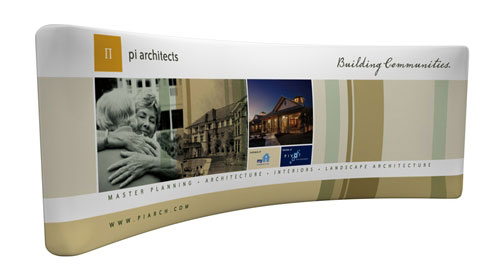
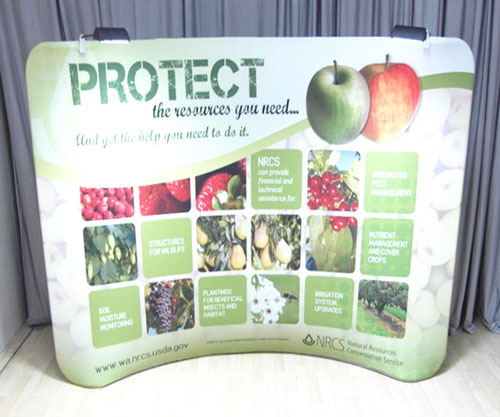
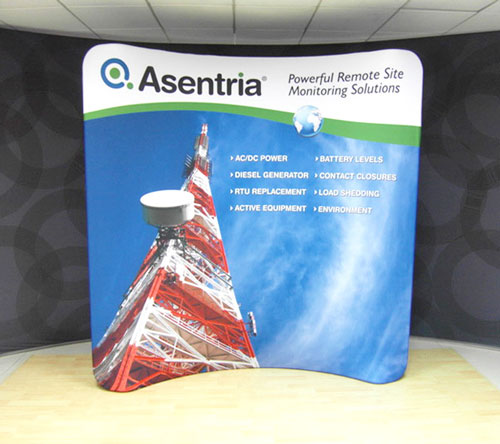
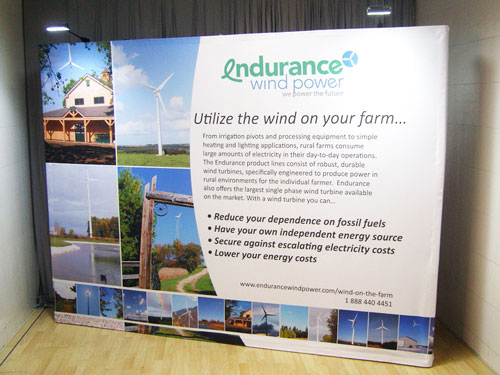
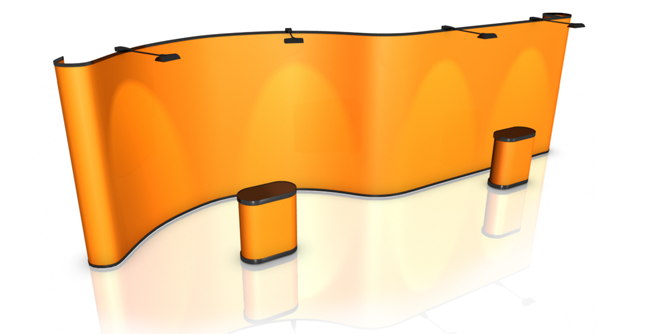
Stunning and Attractive
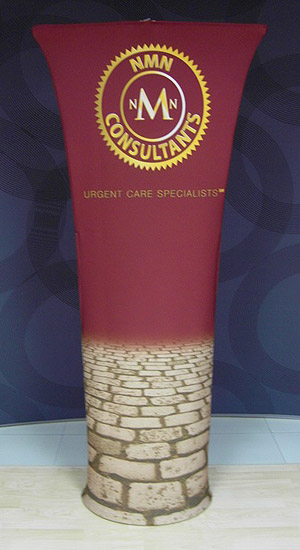
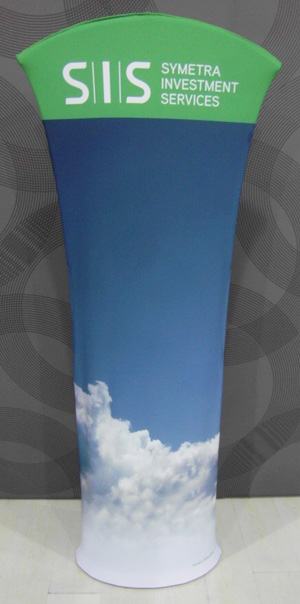
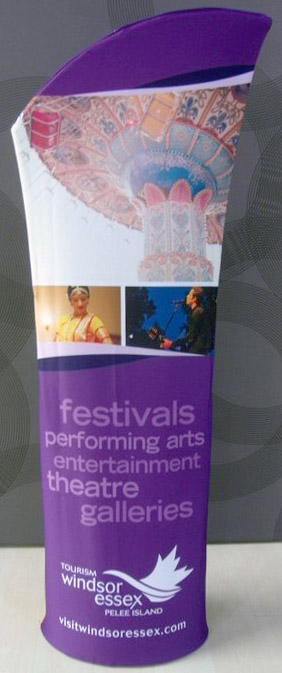
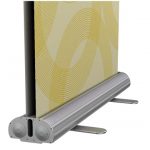
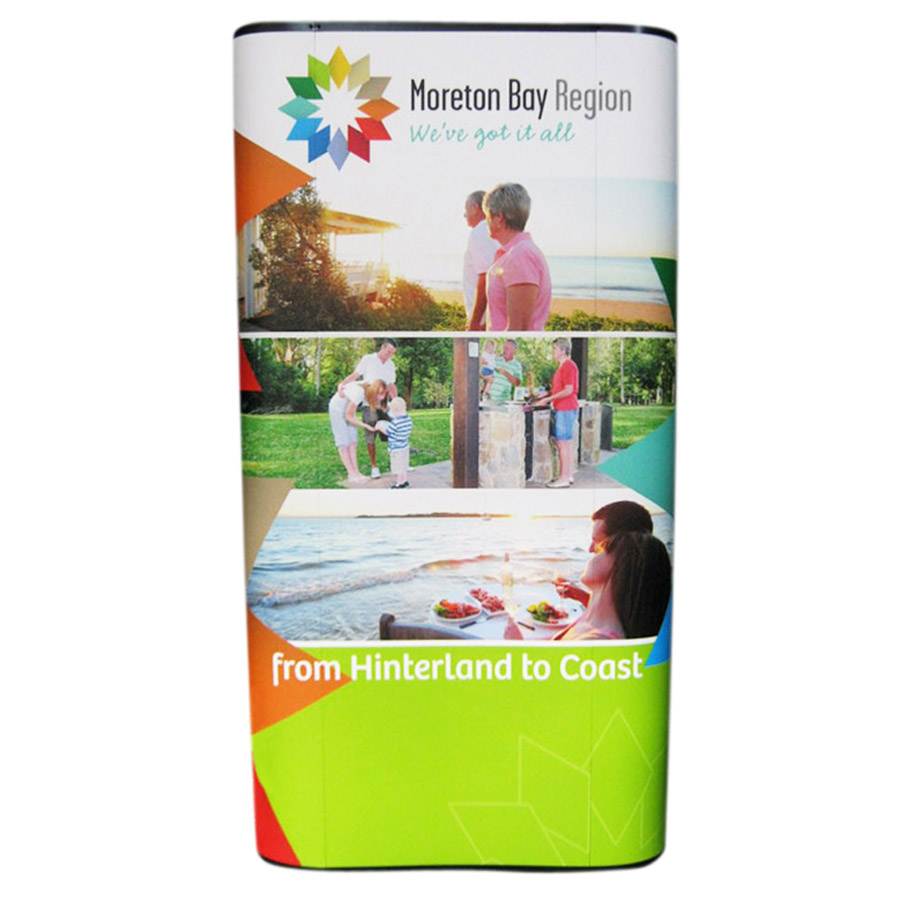
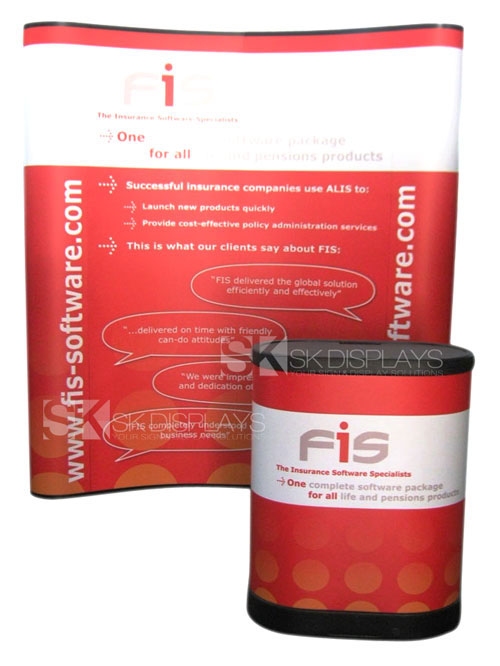
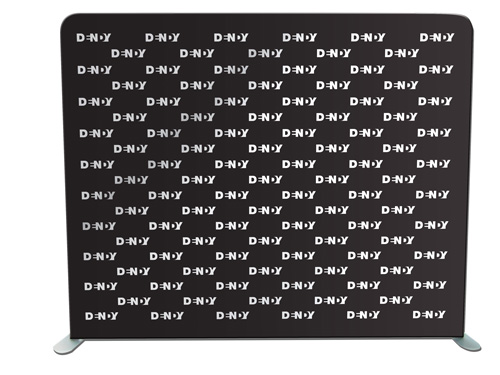
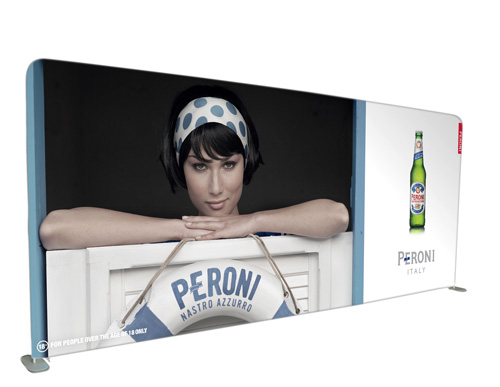
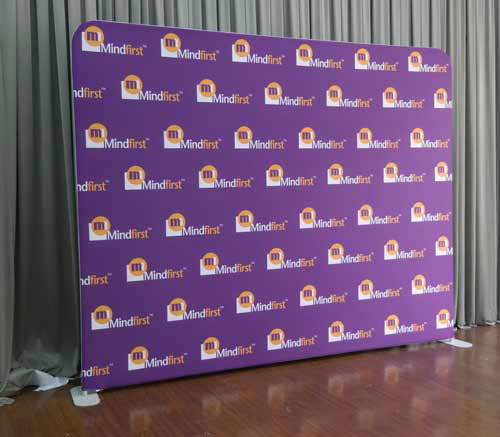
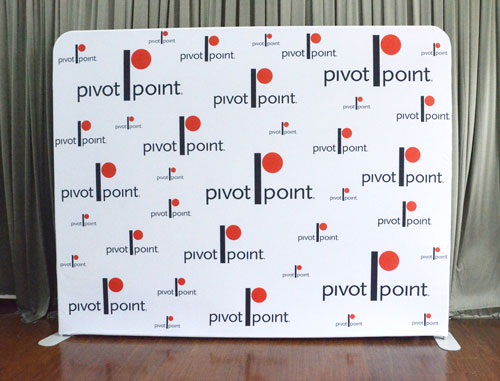
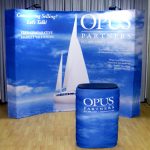
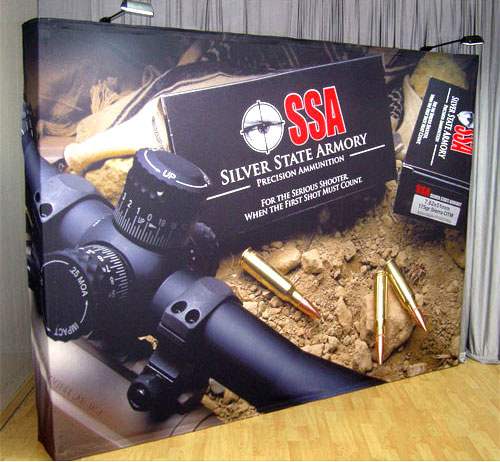
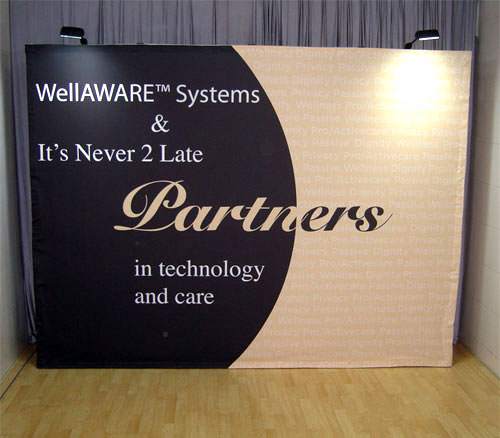
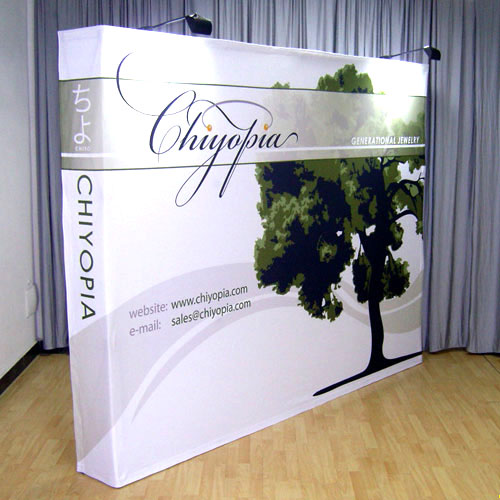
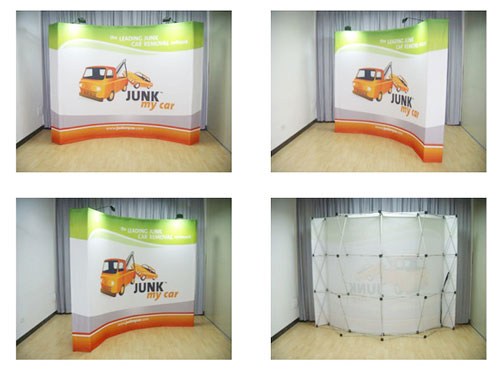
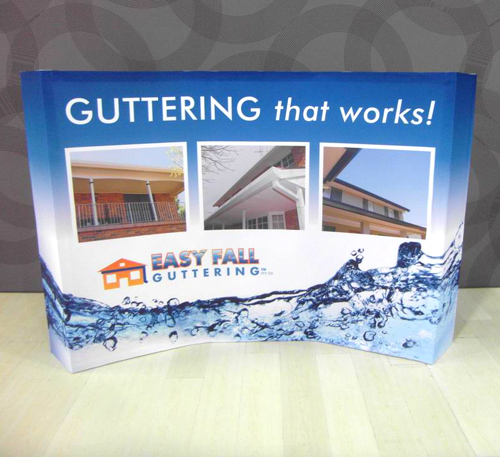
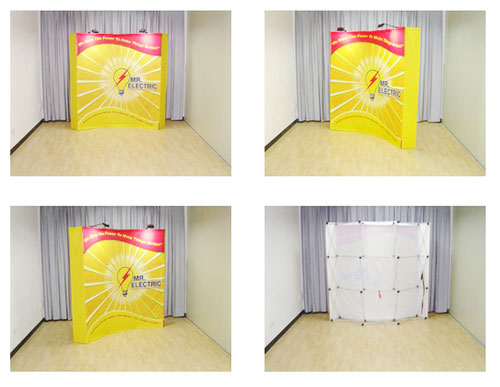
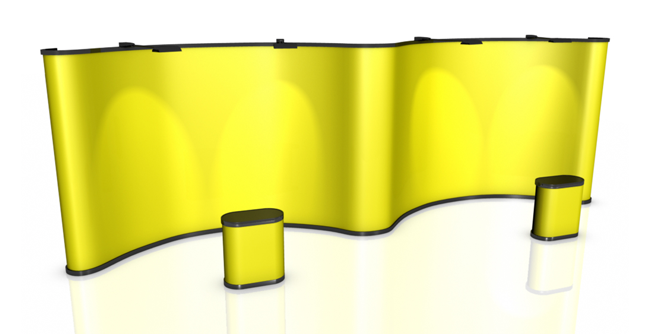
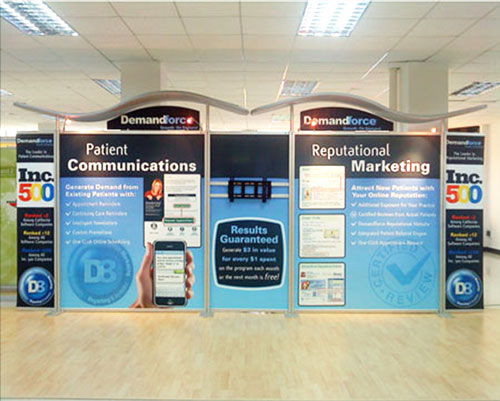
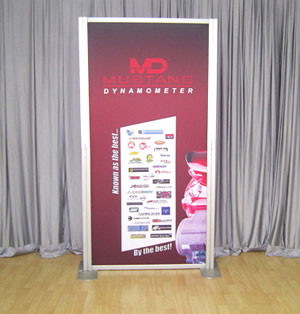
Our exhibition boards are stunning and attractive. They will make your exhibition booths eye-catching and still leave some more room for your expo participants to be creative with how they will decorate their booth. They will also complement your venue, especially if the said venue is a first-class hotel or convention centre. Our 1900mm x2150mm modular display boards are consist of a frame and a fabric graphic. The frame is aluminium and fitted with heavy-duty cross bars that lock in place so the board will stay secure. The fabric graphic has sharp images and bright colours, thanks to the latest dye sublimation graphics technology used in printing them. We also offer add-ons such as halogen lights, counters and tablecloths for every booth. These items can embellish the appearance of your displays even more.
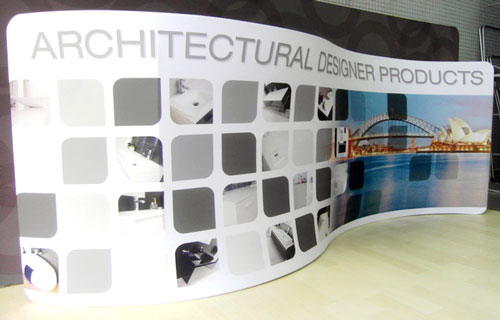
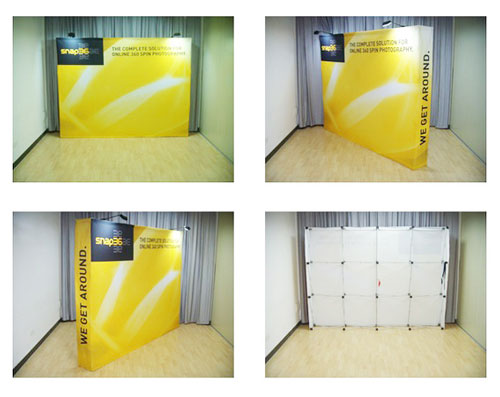
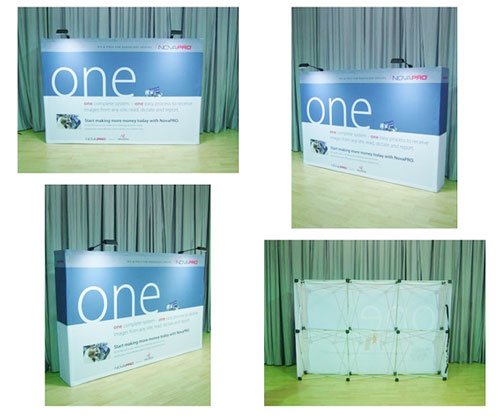
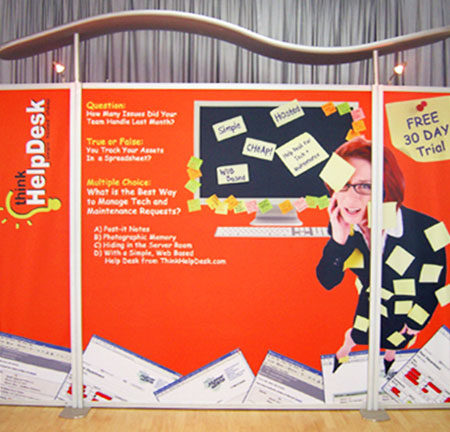
Convenient and Easy to Install
This satellite modular display is rather easy to install. The frame has different pieces that lock securely together and are held in place with screws. The fabric graphic also slips into its place without a lot of effort on your part. The total setup time for this type of display is approximately 30 minutes. The beauty of this modular display system is it is convenient and reusable. You can use it for other expos, thus saving you on costs for any events you will be organising in the future. On your next expo, you only need to set up the same sets of frames. If you require new graphics, you only have to order new sets of fabric graphics to replace your old ones. Moreover, these expo boards can be combined with other types of modular displays so you can exercise your creativity in your setup as much as you want. Our exhibition boards will truly save you time and money, and they will help give your event a polished and classy ambiance. Call us and learn more about the benefits you’ll get from using our 1900mm x2150mm exhibition display boards today.
Details:
- Setup Time: 30 Minutes
- Graphic Material: Fabric
- Can be single-sided or double-sided
- Dimensions: 1900mm/W x 2150mm/H
Setup Instructions
1

Place the feet in the assembly area approximately six feet apart and slide the vertical pole sections onto the foot as shown.
2
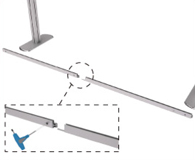
Assemble top and bottom horizontal profiles. Slide two sections together as shown. Using the torx key, rotate clockwise 1/4 turn to lock in place and tighten the torx screw on the bottom of the profile.
3

With torx locks facing the back of display, slide the fabric into the curved side of the top and bottom profile.
4
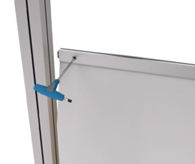
Attach the horizontal profiles to the vertical poles using the torx key. Bottom profile should be flush with the bottom of the vertical poles. To eliminate the need of a ladder, temporarily attach the top profile at eye level as shown in step 5.
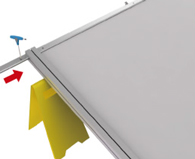
5
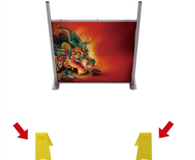
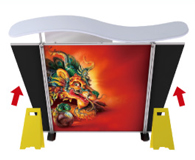
Open the yellow sandwichboards and place them parallel to vertical poles.
6
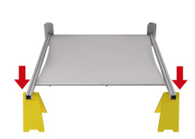
Tilt the display down so the vertical poles rest on the yellow sandwich boards.
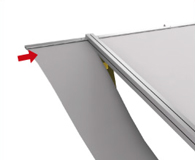
7

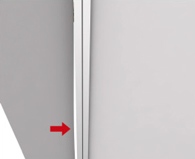
Release the top profile and attach flush with the top of the vertical poles using the torx key. Beginning at one end, tuck the side of the fabric into the center slot of the vertical poles.
8
If used, attach the end cap profiles as shown using the torx key.
9
Slide the end cap fabric into the top and bottom profile as shown. Beginning at one end, tuck the side of the fabric into the center slot of the vertical pole. If you are using Plexigas end caps, see instructions supplied separately.
10
All sections are pre connected, just push together until parts click.
11
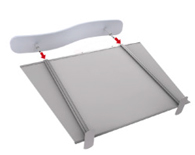
Life the roof assembly and slide the poles evenly and smoothly into the vertical poles. The fabric zipper should be facing down toward the back of the unit.
12
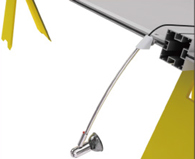
If used, you may now attach lights. Slide the “T” section into the slot. Tighten with the round thumb nut.
13
While standing in front of the unit, SLOWLY lift with the unit to the vertical position.
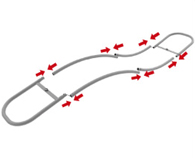
14
Confirm all the fabric edges are pushed neatly and evenly into the horizontal and vertical profiles.
15
Enjoy.
16
17
Coming soon
Coming soon


Contact Details
We appreciate your interest in SK Displays. You can complete the inquiry form below to request more information or you can simply send us an e-mail to info@skdisplaysbanners.com.au or call us directly at (02) 9432 7840 to ask for assistance.